Thursday, September 30, 2010

Deburring Day 2010

So now the time has come, to be rid of the evil little "burrs" that assault my skin. 
I have my 6" buffer and sanding pads ready.

I have a big stack of metal.

I have my gloves, goggles, and dust mask.
I am ready to go.

 Now the trick of this seems to be to NOT make the edge of the metal into a Knife.
This is accomplished by first cleaning the cut edge of the metal all the way around. 
Then sand the top of the edges

Finally i sand the bottom of the edges.

 Then Were done!
Now the edges are nice and clean. Plus they wont cut me! 
The only major issue i ran into was the use of 6" sanding pads.

 
The Sharp edges of the metal kept annihilating the pads.


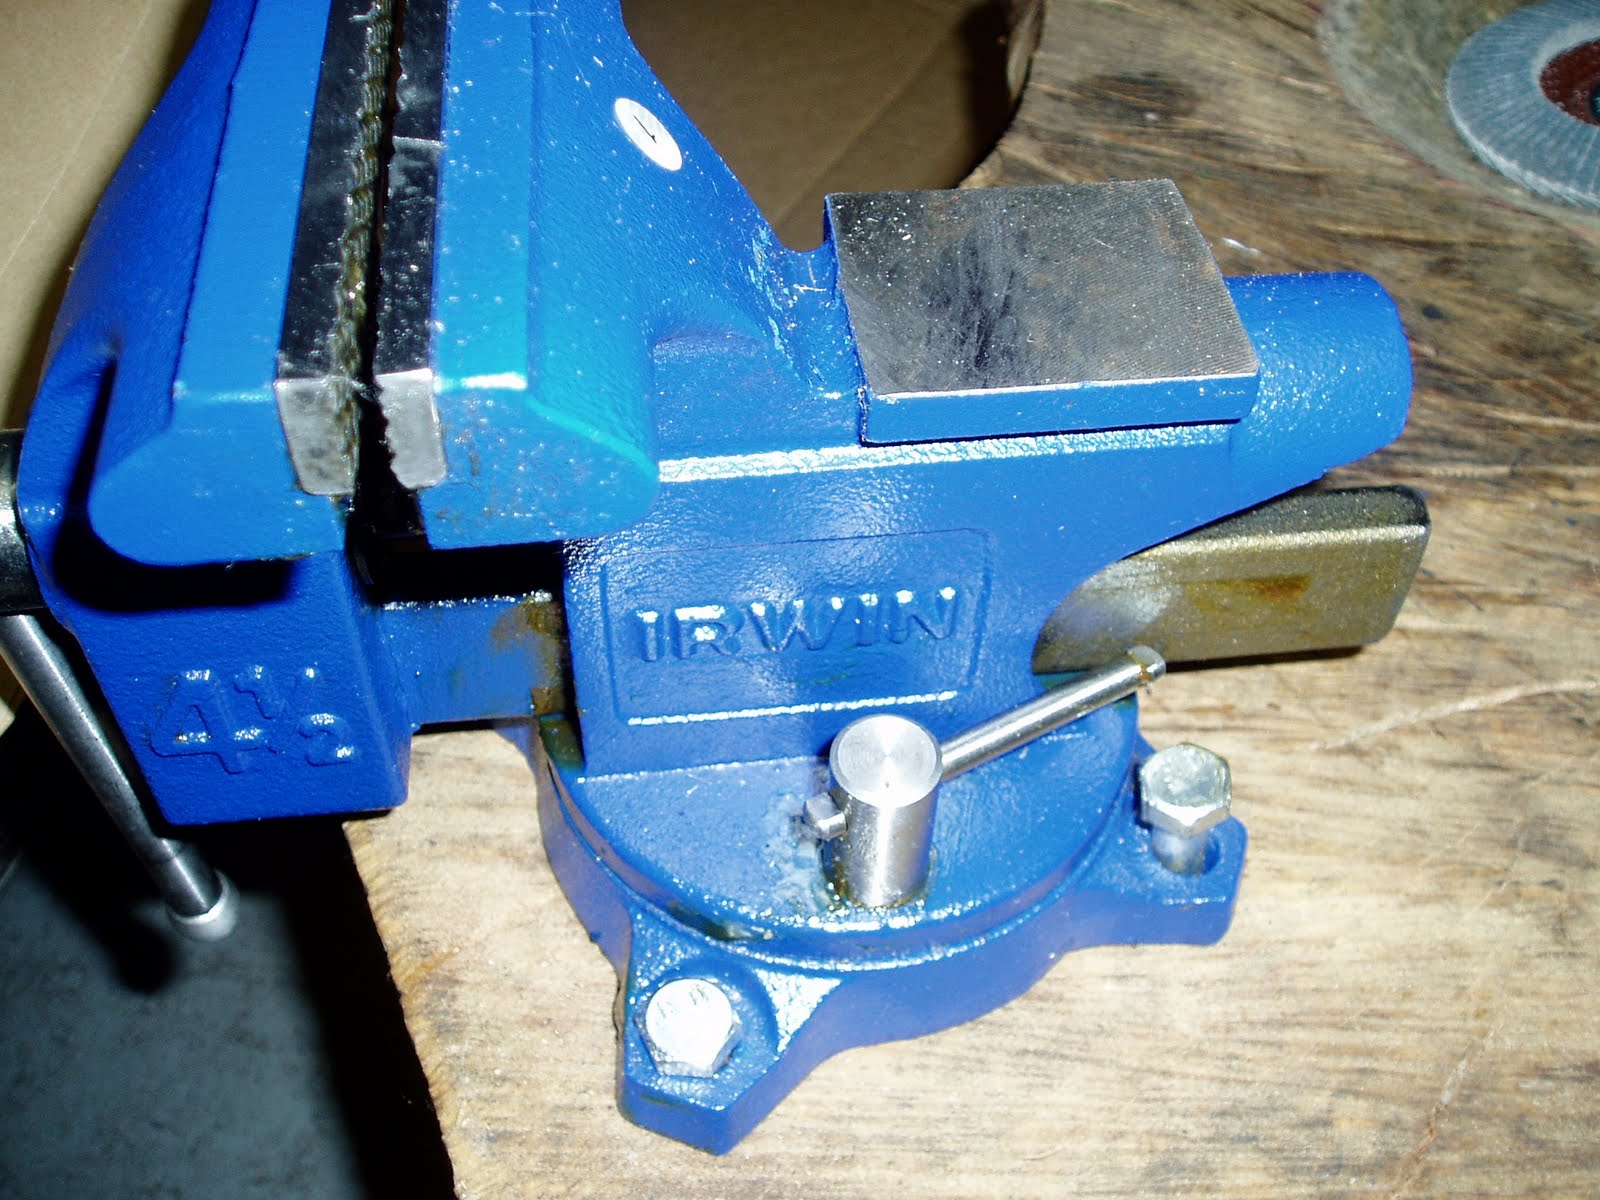
I went through at least 5 pads before i switched over to the 4.5" Flap Wheel.

 Heres a video i shot of me deburring some lames. 
And lame is probably what the video is because i don't have the technology to edit it down correctly. I had to use the Flipshare software that came with my camera. But it still gives you a good idea of what i did.
If you do watch it, please take note of the sparks and how cool they are... OHHHHHHHH!


 And now that that is done, its on to the Mask!


Wednesday, September 22, 2010

Deburring Preparations

Now that (almost) all of the steel is cut, its time to get ready to clean off all of the little metal slivers we fondly refer to as Burrs. I will be using the same technique used to make the raising hammer. For those of you who may have missed that blogisode, i used a 6" buffer with a 4.5" 80 grit flap wheel. Both from Harbour Freight. 
BUT, before i can have any fun, i have a few things to do.

First off, i need to "planish" the edges of the steel. Since they was cut with aviation shears, the edges started to curl up under the pressure. I need a nice flat edge so that it can be sanded evenly.

When i started the planishing, i was using an old claw hammer and the basement floor, but what i found was that i was getting alot of creases where i struck the steel. The hammer and the floor were not flat enough to even out the steel. Planishing is kind of like ironing the wrinkles out of a shirt. You wouldnt use a iron that wasnt flat would you?

I have replaced the use of the basement floor with the Mini anvil on my vise, as it is a perfectly flat steel surface. As for the claw hammer, i am now using the flat end of my brand new 32oz Ball pein. In Retrospect i could/should have used a lighter weight hammer. It became very hard to carefully planish the steel without striking it to hard. Trying to slow down the speed of the falling hammer also became very tiring after a while.

After all of the parts were planished (this process took a few weeks to finish) i had to center punch the holes.
This was quick and painless.

I used the center punch from my Punch & Chisel set i got from Harbor freight.
I just line up the tip of the punch dead center on the pre-marked rivet holes and then strike it with the hammer!

BOOM goes the Dynamite!

There are two major reasons to center punch all of the holes first.
The first and most important is, when i shape the steel, the sharpie marks tend to get smudged or removed completely. Without these marks i will have no idea where to punch the holes for the rivets. Then I have to pull out the pattern again to find the marks, which is a pain and i don't want to do it. I don't Wanna!

The second, and most common reason to use a center punch is to aid in the hole punching process. When you drill holes in metal, if there isnt a good starting groove for the drill bit, it makes it very difficult to make an acurate hole. The drill has a tendency to move out of place quickly, but when you center punch the hole, the bit stays in the groove you punched. This will help me line up the holes when i am using the Whitney roper as well.

Now that all of the prep work is done, Its time get back to the grind!

Monday, September 20, 2010

My BELT

Alright, let me first start by saying that i have been searching for Dooms Belt for MONTHS.

I am scrapping the gun holster, due to its difficulty and uselessness.
The belt itself, i am estimating here, looks to be about 3" wide.
To find a three inch wide brown belt with a brass buckle is not as easy as you would expect. 
I looked into weight belts, woman's belts and even making my own buckle.
All of the above options were either way too expensive or way to time consuming.
Then in my Internet searches i came across an eBay listing for a 3" Brass Buckle!!!
So i contacted the seller and he was also able to make me a 3" brown "belt Blank"!
A belt blank is basically just a long strip of leather in the shape of a belt. 
So i will have to rivet it together and punch the holes still, but that's minimal compared to making a buckle!
The Lister's name is landco317 Checkout his eBay page! 
He was extremely helpful and i would highly recommend him to anyone!

Here is the buckle, i used the dollar bill so that you could see how large it is!

Look how thick the belt is! isn't it perfect!

Here's a fair idea of how it will look assembled!
But you wont have to imagine soon, as i will post photos of the finished product!

Friday, September 17, 2010

Sabatons, the final fronteir

 These are the voyages...
sorry I got off track.
The Sabatons, or foot Armour, are the last things i need to cut out on a larger scale. I still have to cutout the mask, but that's a whole other story for another day. Turns out, when i bought the metal, one of the sheets was a thicker gauge steel then the rest. I happened to use this one for the sabatons. This is good because they require only a little dishing and they need a little more strength as they are just a series of thinner metal strips riveted together  with straps. This is bad because that makes it twice as hard to cut!

 
 So to solve this problem, i clamped the whole sheet to my vise. Instead of holding the metal with one hand, and the shears in the other, i can put all of my force into the shears. Believe me, doing it this way only made the process possible, NOT easier. 
I will never use Aviation shears to cut anything thicker than 18 gauge ever again!
 
 Almost Done!

 
 My blistered sore hands :(

Well at least the only thing i have left to cut is the 16 gauge Stainless steel, that should be easier right?
Right???

Friday, September 10, 2010

Leather!

I got my order from Leather Unlimited.com today!

 I ordered 10LBs of black 8oz "scrap" leather.
I don't need huge pieces of leather to make straps so this is perfect for me.
Plus there are some larger odd shaped pieces that i can use if i need to. 
I have a feeling i will need a few large chunks for my quasi-boots that will fit under my sabatons.

 
 10LBs is a lot of leather for FIFTEEN BUCKS! 
This was the absolute best deal i found and i couldn't be happier with my choice.

 I also picked up about 30 brass buckles and 5 D-rings to finish off the straps.
All in all, i am very happy with this purchase and i look forward to putting it to good use!

Thursday, September 9, 2010

Masking The Pain- Part Deux

 It always starts with a plan.
So for anyone who has been reading since the beginning (I'm sorry) or anyone who has read through it all, you may know that my first design for the costume was the mask. 
I saw this as being the hardest element to replicate so i figured i would tackle this first.
What i designed was fantastic, however i did not consider how exposed the sides of my face would be until i had the pattern cut out of cardboard.
What i now needed was some sort of plate that will cover my face and forehead.
Dooms mask is always shown as a separate piece for the rest of the head armour (i wont call it a helmet)
See Below:

 Therefore, i needed to find a way to make them separate but still connected.

Needless to say, i spend quite a bit of time trying to figure it out.
Shown below is one of my many sketches:

 The mask it self will consist of Five Pieces. The nose, two eye surroundings, chin plate and Main mask.


 The additional head armour will consist of four pieces. 
Two plates that will cover the sides of my face and will include holes to hear.
 One Plate that will be dished to fit my forehead (illustrated below).
And a plate that will go directly behind that to cover the top of my head just in case i want to break character and take off the hood, which i promise i wont do.


First objective, design the plates. The forehead or skull plate will be the most difficult. Not only to create, but to design around as the round edges make it difficult to approximate. So what i have to do make the skull plate first and design the rest around that!

 
 Skull plate design on steel

 
Mostly cut out

 
 Cut out and deburred. I did it by hand with a file as this was faster than setting up the buffer.

 
 Lets Dish!

 
 Almost There!

 
 Now that its completely formed i have a better idea of where the lines will lie. 
This will make it much easier way to make sure the other pieces will fit.
 Notice how the bottom edge is flat, i needed to make sure it was, as the face plates will need to be riveted directly onto these two plates.

 From the front. In all reality, the most you should see of this is the bottom front piece as the rest will be covered by the hood. Provided i design that right!

 
This will be the face Plate section. Dont worry, ill make a hole for my ears.

 
 Done! So there you have it, my version of Dooms Head Armour!

Tuesday, September 7, 2010

Making my raising Hammer from an old cross pein

I'm not sure if i will find a need for a raising hammer with this project, but all of the forums practically require one. So i decided to make one just in case. I found an old cross pein that was just aching for a makeover. Unfortunately, i was too eager to get started, i didn't take a "before" picture :(
But at least i can explain it, this is a blog after all!

I started by removing the handle of the hammer. As it was a very old hammer, it was very easily removed by simply pulling it out. Then i used my file set to give it a preliminary cleaning. My initial idea was to just use the files to finish the whole thing, but it soon became evident that this would not be possible. 
I want the face of the hammer, which was flat, to be used for dishing smaller items. In order to do this i must trim down all of the sides so that it forms a dome shape.
The issue was that over the years of use (and misuse) only the lower edge of the face was used for striking making it much softer. The top edge was in relatively good shape, making it allot harder to file by hand.

Enter the buffing wheel! With a 4.5" 80 grit flap disc from Harbour freight.

The sparks were flying, it must be love.


Then i needed to flatten and round out the pein it self. This was so quick and easy that there is no photographic evidence of the process. But there are photos of the results!

Just a little blood! 
honestly i didn't even realize i was bleeding until i looked at this photo


The edge is smooth and round so that it will shape the metal, not serve as an axe.

Now to finish it all off, i need something to hold onto while i hit things with it!
But What? How?
Oh that's right, i need to put the handle back on.

Done! Now that looks correct, i knew something was missing.


To attach the handle, i cleaned up the wood with sand paper.
The biggest problem i had with the handle pre-disassembly was that it was very loose.
To fix this, i heated up to head of the hammer in the oven for a little while on low heat so that it would contract and make the hole larger. Then, while it was still hot, i put it onto the handle. 
Finally, as shown above, i put two nails into the exposed wood of the hammer to expand it to make a snug fit.

And Viola! All set and ready to hit things!