
Now that (almost) all of the steel is cut, its time to get ready to clean off all of the little metal slivers we fondly refer to as Burrs. I will be using the same technique used to make the raising hammer. For those of you who may have missed that blogisode, i used a 6" buffer with a 4.5" 80 grit flap wheel. Both from Harbour Freight.
BUT, before i can have any fun, i have a few things to do.
First off, i need to "planish" the edges of the steel. Since they was cut with aviation shears, the edges started to curl up under the pressure. I need a nice flat edge so that it can be sanded evenly.
When i started the planishing, i was using an old claw hammer and the basement floor, but what i found was that i was getting alot of creases where i struck the steel. The hammer and the floor were not flat enough to even out the steel. Planishing is kind of like ironing the wrinkles out of a shirt. You wouldnt use a iron that wasnt flat would you?

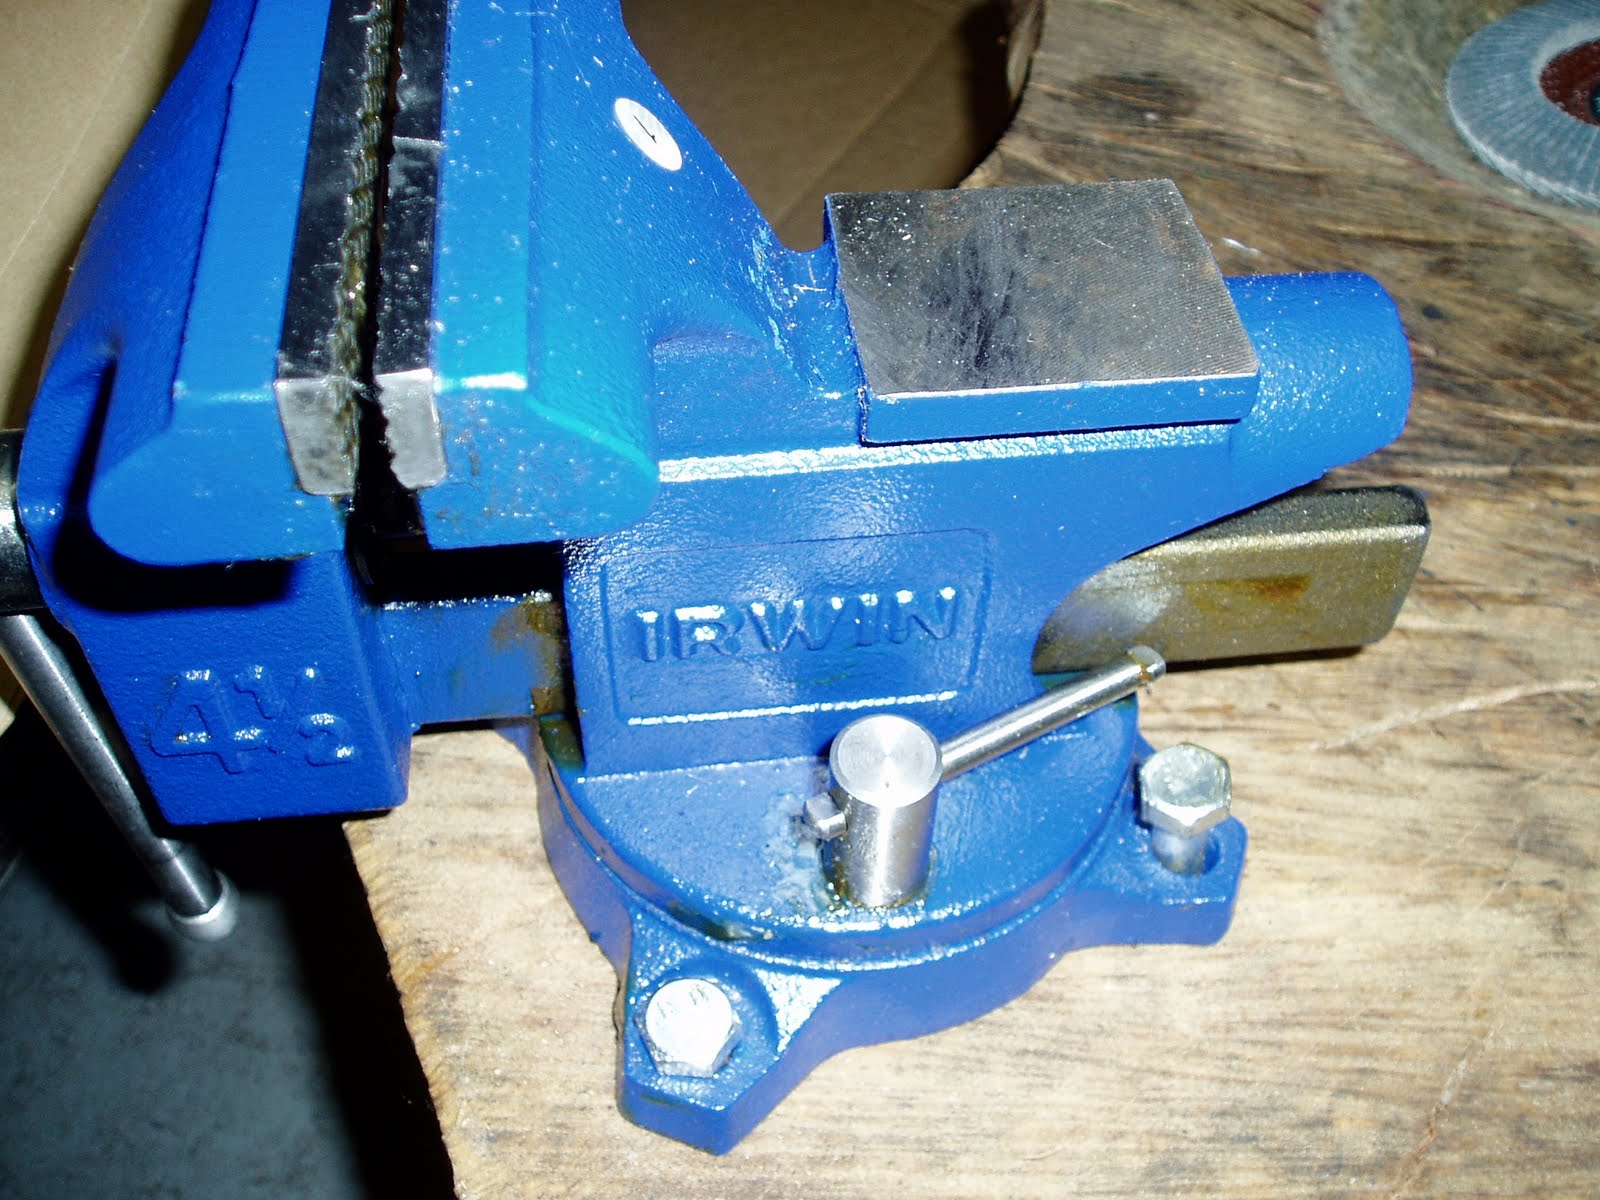
I have replaced the use of the basement floor with the Mini anvil on my vise, as it is a perfectly flat steel surface. As for the claw hammer, i am now using the flat end of my brand new 32oz Ball pein. In Retrospect i could/should have used a lighter weight hammer. It became very hard to carefully planish the steel without striking it to hard. Trying to slow down the speed of the falling hammer also became very tiring after a while.

After all of the parts were planished (this process took a few weeks to finish) i had to center punch the holes.
This was quick and painless.

I used the center punch from my Punch & Chisel set i got from Harbor freight.
I just line up the tip of the punch dead center on the pre-marked rivet holes and then strike it with the hammer!

BOOM goes the Dynamite!
There are two major reasons to center punch all of the holes first.
The first and most important is, when i shape the steel, the sharpie marks tend to get smudged or removed completely. Without these marks i will have no idea where to punch the holes for the rivets. Then I have to pull out the pattern again to find the marks, which is a pain and i don't want to do it. I don't Wanna!
The second, and most common reason to use a center punch is to aid in the hole punching process. When you drill holes in metal, if there isnt a good starting groove for the drill bit, it makes it very difficult to make an acurate hole. The drill has a tendency to move out of place quickly, but when you center punch the hole, the bit stays in the groove you punched. This will help me line up the holes when i am using the Whitney roper as well.
Now that all of the prep work is done, Its time get back to the grind!
No comments:
Post a Comment